Carpal Tunnel Desk Setup: The Complete Ergonomic Workstation Guide
Your desk setup is either helping your wrists recover or slowly making things worse. There's no neutral position — every angle, every height, every device placement is either reducing carpal tunnel pressure or adding to it.
The frustrating part is that most "ergonomic desk setup" guides give you the same generic advice: monitor at eye level, elbows at 90 degrees, feet flat on the floor. That's not wrong, but it's incomplete. It optimizes the angles without questioning the underlying assumption that your desk needs a keyboard and mouse as the primary interaction point.
This guide covers the full ergonomic stack — from chair height to monitor position to the input devices that sit on (and increasingly replace) your desk surface.
The Foundation: Chair and Desk Height
Everything starts here. If your chair and desk height are wrong, no amount of ergonomic accessories will compensate.
Chair Height
Sit with your feet flat on the floor (or on a footrest). Your thighs should be roughly parallel to the floor, with your knees at or slightly below hip level. Your upper body weight should be distributed between your sit bones and your backrest — not loaded forward onto your wrists.
The wrist connection: When your chair is too low, your shoulders hunch upward to reach the desk, creating tension that travels from your trapezius through your forearms to your wrists. When your chair is too high, your wrists flex downward to reach the keyboard, compressing the carpal tunnel directly.
Desk Height
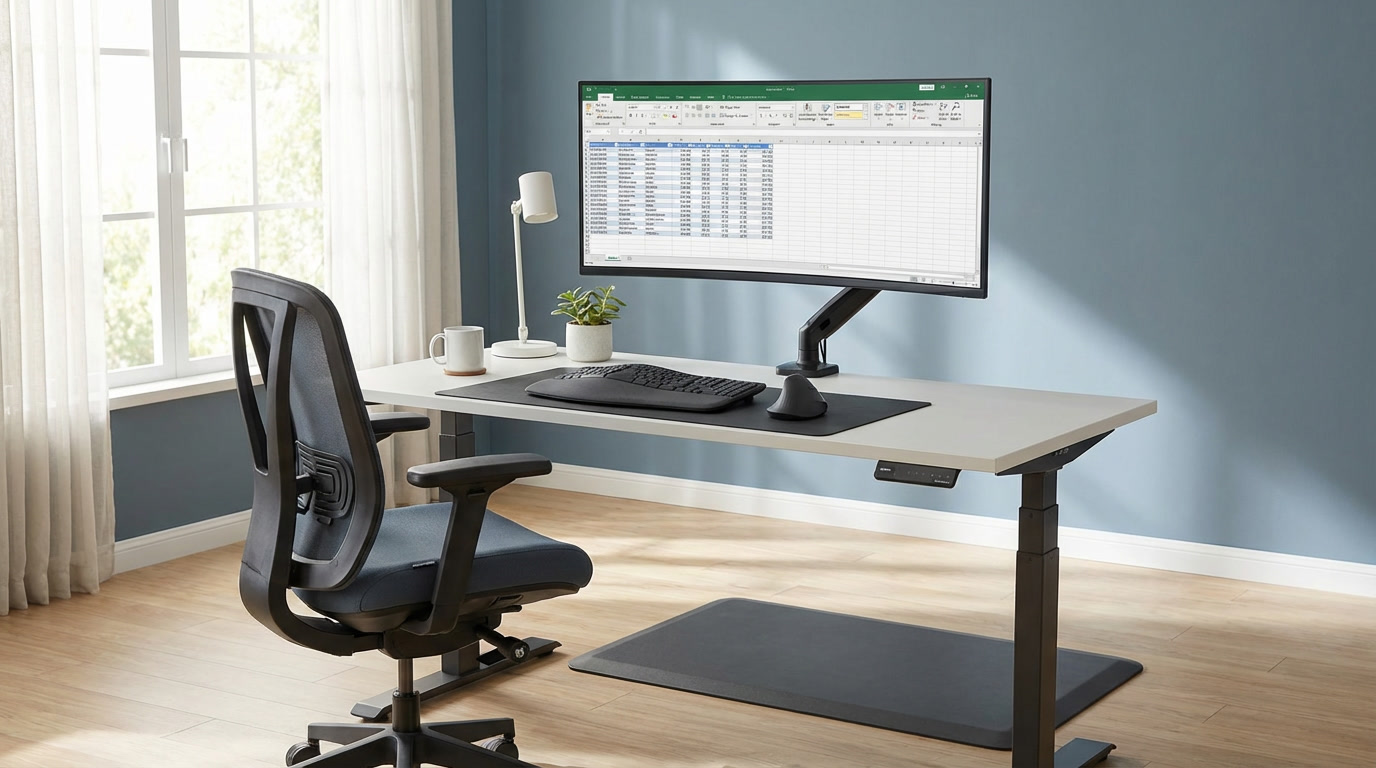
With your chair properly positioned, your desk surface should allow your forearms to rest parallel to the floor when typing, with elbows at approximately 90-100 degrees. For most adults, this means a desk surface at 27-30 inches from the floor.
The problem with standard desks: Most commercial desks are 29-30 inches high, which is correct for the "average" person but too high for anyone under about 5'10". If your desk is too high and you can't lower it, a keyboard tray mounted under the desk surface is the most effective fix.
The Negative Tilt Principle
Here's a setup detail that most guides get wrong: those pop-out feet on the back of your keyboard? They make carpal tunnel worse.
When the back of your keyboard is elevated, your wrists extend upward to type — the exact posture that compresses the carpal tunnel from below. The ideal keyboard angle is actually a slight negative tilt, where the front edge is fractionally higher than the back edge. This keeps your wrists in neutral or very slight flexion.
Some keyboard trays offer built-in negative tilt. If yours doesn't, removing the keyboard feet and placing a thin support under the front edge of the keyboard achieves the same effect.
Monitor Positioning
Your monitor position doesn't directly contact your wrists, but it has a significant indirect effect through postural chain mechanics.
Height
The top of your screen should be at or slightly below eye level. When your monitor is too low, your head tilts forward, your shoulders round, and compensatory tension builds in your forearms and wrists. When your monitor is too high, your neck extends backward, creating different but equally problematic tension patterns.
Distance
Your monitor should be at arm's length — roughly 20-26 inches from your eyes. Too close forces your eyes to converge intensely, creating facial and neck tension. Too far causes you to lean forward unconsciously.
Monitor Arms vs. Stands
A monitor arm (like the Ergotron LX or Amazon Basics equivalent) gives you precise height, depth, and angle adjustment. Fixed stands limit you to whatever heights the manufacturer decided to include. For carpal tunnel sufferers, the flexibility of a monitor arm is worth the investment.
Dual monitors: If you use two screens, position your primary monitor directly in front of you and the secondary monitor angled to one side. Don't split them symmetrically unless you use both equally — symmetric placement forces constant head rotation, creating neck strain that cascades into shoulder and wrist tension.
Input Device Placement
This is where desk setup advice typically stops at "use an ergonomic keyboard and mouse." Let's go deeper.
Keyboard Position
Your keyboard should be directly in front of you, centered on the B key (not centered on the spacebar, which offsets the letter keys to the left). Your wrists should not rest on the desk surface or a wrist rest while actively typing — they should float above the keys, with your fingers dropping to press each key.
Wrist rests: Use them for resting between bursts of typing, not during typing. Contact pressure from a wrist rest against the base of your palm can compress the carpal tunnel from below, especially if you lean into it.
Split keyboard placement: If using a split keyboard, position each half at shoulder width with a slight inward angle. This eliminates the ulnar deviation that standard keyboards force. Leave space between the halves — enough to feel natural but not so much that you're reaching.
Mouse Position
Your mouse should be immediately adjacent to your keyboard at the same height — not on a separate surface, not six inches away, not on a mouse pad on top of a stack of books. Every inch of reach adds shoulder abduction strain that transmits to your wrist.
Better yet: Reduce how much you need the mouse. Most desk setups treat the mouse as a primary input device. For carpal tunnel sufferers, the goal is to make the mouse a secondary device used only for precision tasks.
The Input Layer: Where Most Guides Stop Too Soon
A conventional ergonomic desk setup has three input devices: keyboard, mouse, and maybe a touchpad. Each one requires repetitive wrist motion.
A carpal-tunnel-optimized desk setup has a fourth: voice control.
Voice Commands for System Navigation
Neo by Jam adds a voice-and-gaze layer to your workstation that handles the interactions currently performed by keyboard shortcuts and mouse clicks:
Application management: "Open Slack." "Switch to Terminal." "Close this window." "Minimize." Each of these replaces a Cmd+Tab, a mouse movement, or a Cmd+W — small interactions that add up to hundreds of repetitive motions daily.
Window management: "Snap left." "Maximize." "Move to other screen." These replace the mouse-to-title-bar-drag-and-position sequences that are surprisingly wrist-intensive.
Browser control: "New tab." "Close tab." "Back." "Reload." "Search for…" Tab and browser management is one of the highest-frequency mouse/keyboard activities, and it translates naturally to voice.
Scrolling: "Scroll down." "Scroll up." "Page down." Scrolling — whether by scroll wheel, trackpad gesture, or arrow keys — is a sustained repetitive motion that voice eliminates entirely.
Clicking: Look at the target, say "click." Neo's eye tracking identifies the UI element at your gaze position. No mouse movement, no grip, no click. This single interaction replaces the most common mouse activity in any workflow.
Push-to-Talk Dictation for Text Input
When you need to write content — emails, messages, documentation, comments — Neo's dictation mode lets you position your cursor and speak naturally. Hold the dictation key, talk, release the key. Your speech appears as text.
This isn't a replacement for keyboard typing in all scenarios (precise code editing, spreadsheet formulas, and detailed text manipulation still favor a keyboard), but for the substantial portion of daily text input that's conversational — emails, Slack messages, document drafts — dictation eliminates the keyboard interaction entirely.
The Optimized Desk Layout
Here's what a carpal-tunnel-optimized workstation looks like in practice:
Center: Split keyboard (Kinesis Advantage360, ZSA Moonlander, or similar) positioned at correct height with negative tilt. Used for content creation — actual typing of prose, code, or data.
Adjacent: Trackball or vertical mouse, used only for precision tasks that require fine cursor control (design work, photo editing, detailed spreadsheet navigation). Not your primary pointing device.
Monitor: Arm-mounted at eye level, arm's length distance.
Voice + gaze: Neo running on your machine, activated by push-to-talk keys. Handles application switching, window management, browser navigation, scrolling, and general clicking. Represents the majority of your daily computer interactions by volume, with zero wrist involvement.
No wrist rest under your keyboard while typing. Optional wrist support positioned in front of the keyboard for resting between active typing sessions.
The 30-30-30 Rule
For carpal tunnel prevention and management, I use a simple rule: every 30 minutes of work, take 30 seconds to do 3 stretches (wrist extension, wrist flexion, and nerve gliding). This isn't original advice, but it's advice that almost nobody follows consistently.
To make it stick, pair it with a trigger. When Neo's push-to-talk system becomes your primary navigation method, the physical break you take between voice-command work and keyboard-typing work becomes a natural trigger for a quick stretch set.
Setup Checklist
Run through this list once and correct anything that's off:
- Chair height positions thighs parallel to floor
- Desk height positions forearms parallel to floor, elbows at 90-100 degrees
- Keyboard feet are folded down (not elevated)
- Keyboard is centered on the B key, not the spacebar
- Mouse or trackball is immediately adjacent to keyboard, same height
- Monitor top is at eye level, arm's length distance
- No wrist rest under active typing position
- Room lighting doesn't create screen glare (which causes you to lean forward)
- A voice control system handles navigation, clicking, and scrolling
- Keyboard is reserved for content creation only
The most ergonomic desk setup isn't the one with the most accessories. It's the one where your wrists only move when there's no alternative — and where technology handles everything else.
I rebuilt my entire workstation around one principle: my wrists should only type when I'm actually writing. Neo handles everything else by voice and gaze. The result is a desk setup that lets me work full days without carpal tunnel symptoms. See how Neo fits into your workstation.